WOAH! Hens with Pens Arty-Life hacks!

The art world has always been an intimidating place especially for the inexperienced, offering an overwhelming sense that your work might not meet the format to classify as ‘good’.
Well, firstly, always remember that there is no ‘good’ or ‘bad’ artwork. The whole point of art is to express yourself, tell a story, and sketchlike no one is watching because there is no consensus.
If you love it, we love it! :)
But if you want to hone your skills, improve your techniques or generally just have a wiggle around. Here are some of our favourite tips and tricks to make your artwork shine and generally make your life easier!
Sharp v Blunt
You may not realise it, but the sharpness of your utensil can have a dramatic effect on how your sketches turn out. The sharper your pencil, the harsher your lines will be, you should use a sharper end to define edges, create your outlines and define basic features.
Use a duller ended product to blend your lines, create depth and develop stronger shadows. This is a smart trick if you’re aiming for a more realistic outcome rather than a simple outline style.
Q Tips/ Cotton Bud
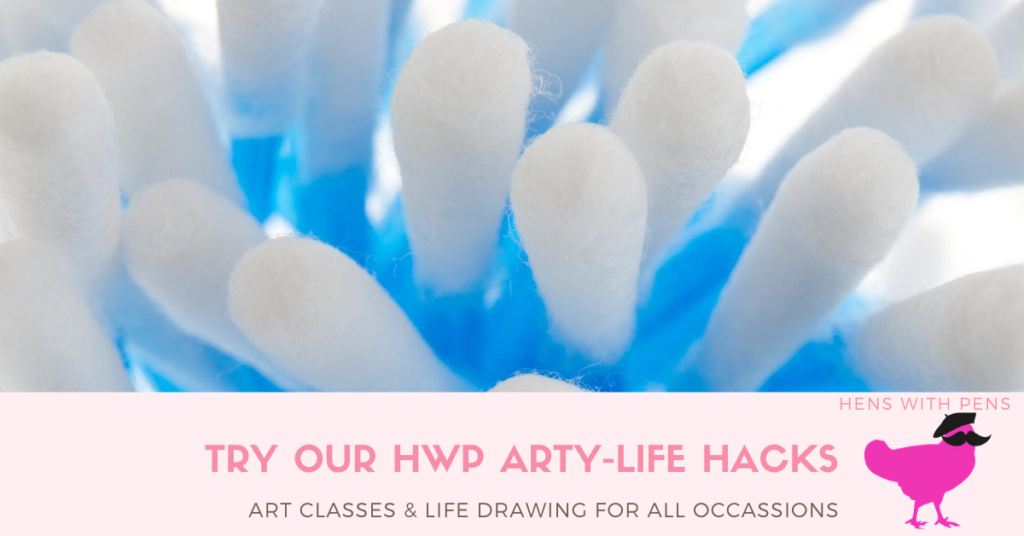
Trying to blend your sharp edges with your shadows? Wondering what would be the best option? For a smooth controlled blending strategy use a Q-tip/ cotton bud. Specifically the dual ended options with one pointed and one dull end. This gives you a more diverse option of pressure and blending power. Using a cotton bud allows you to smudge hard to reach areas and use layered shadows with ease!
Finger Smudge
OR - of course you can use the traditional, old fashioned option of the finger blend. However, be careful not to lean on your work or run your smudging finger over it. This technique tends to work best when using charcoal or pencils.
Bigger Picture
One major feature to remember when sketching any object or large feature such as a person is to focus on the bigger picture! Draw your dimensions, your outlines, skeletal structure first, then focus on the details. We know you may hear the phrase, “the beauty is in the details” well we prefer, “ The beauty is in the eye of the perceiver”. Don’t feel pressured to fill out all the minute details! Find a balance of wanting to be your own critic and knowing when to call it a day.
Practice Makes Perfect
Take your time to practice your toughest sections; in life drawing we find the most common problem areas are the eyes, the hands/feet and the muscular layout. Take your time, even half an hour a day to practice these areas, the more you practice the better you become. Test your skills by doing your next sketch based on a different angle.
Why not go away and practice some of these? Send us your sketches by tagging us on your Instagram stories or on facebook @henswithpens
